
What is Soil Moisture Sensor with Arduino
Soil moisture sensors are invaluable tools for gardeners, farmers, and environmental enthusiasts, providing critical information about the moisture content of soil. By integrating these sensors with Arduino, a versatile open-source microcontroller platform, you can create a cost-effective and customizable solution for monitoring and controlling soil moisture levels in various applications.
What is a Soil Moisture Sensor?
A This sensor is a device that measures the volumetric water content in soil. It does measuring the resistance between two electrodes or using other technologies like capacitance. This information helps users help when and how much to water their plants, optimize irrigation systems, prevent overwatering or underwatering, and improve crop yields.
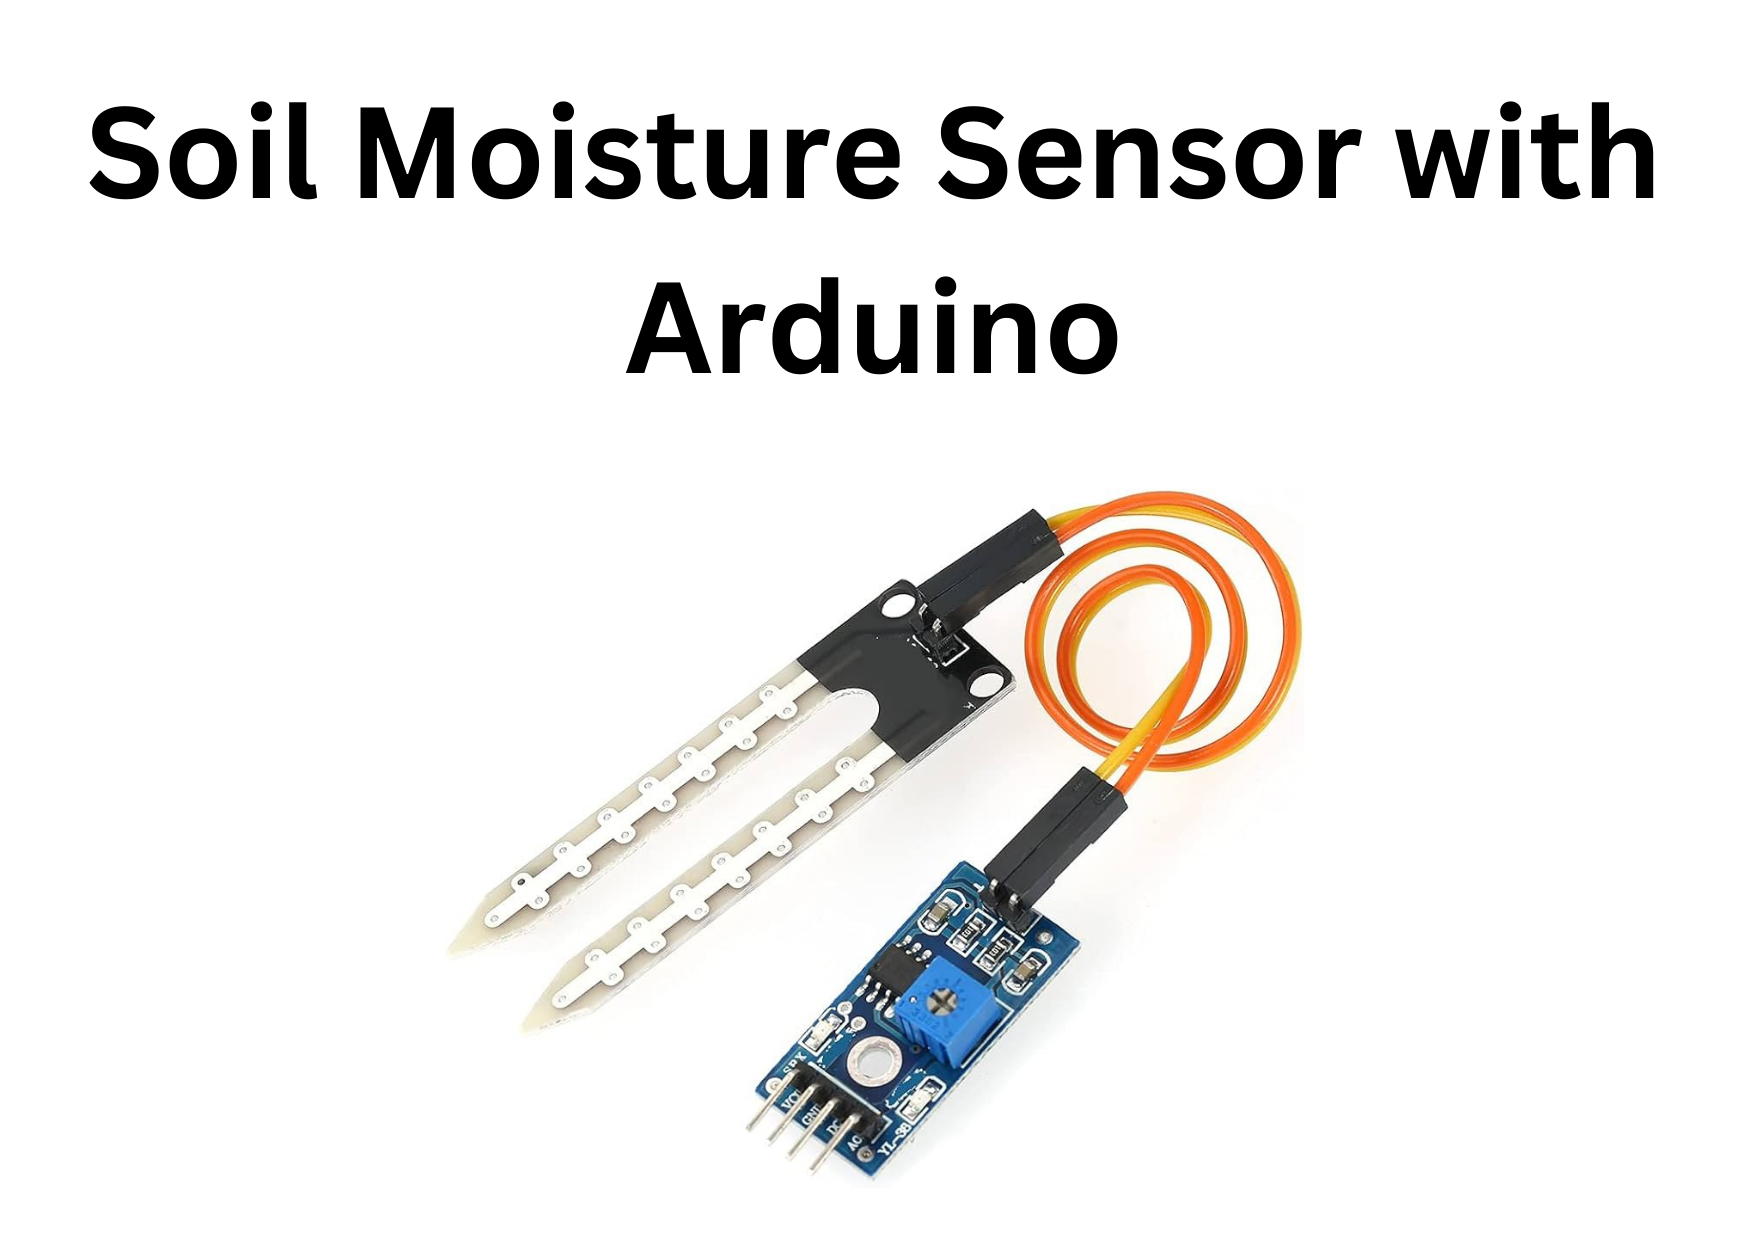
The Probe
The sensor incorporates a fork-molded test with two uncovered guides that are embedded into the dirt or any place where the dampness content is to be estimated.
As recently expressed, it goes about as a variable resistor, with obstruction changing as indicated by soil dampness.

The Module
The module creates a result voltage in view of the opposition of the test, which is accessible at a Simple Result (AO) pin.
A similar sign is taken care of by an LM393 High Accuracy Comparator, which digitizes it and makes it accessible at a Computerized Result (DO) pin.

How to Connect Soil Moisture Sensor?
- Connect the soil moisture sensor to the Arduino using jumper wires. Typically, these sensors have three pins: VCC (power), GND (ground), and SIG (signal). Connect VCC to 5V on the Arduino, GND to GND, and SIG to an analog or digital pin, depending on your sensor type.
- Install the Arduino IDE on your computer if you haven’t already. You can download it from the Our website. [https://lk-tronics.com]
- Write a simple Arduino sketch (program) to read data from the soil moisture sensor and display it on the serial monitor. You can also calibrate the sensor based on your specific soil type and requirements.
- Upload the sketch to your Arduino board and open the serial monitor to view the moisture readings.
**************************************************************************************************************

- < 500 Soil is too wet
- 500-750 Soil is the target range
- > 750 Soil is too dry
Arduino Code
**************************************************************************************************************
* Company Name:LK Tronics
* Author: Research & Development Department
EXPERT GUIDANCE TO BRING YOUR DREAM PROJECT TO LIFE
* Date: 2020/ 03/20
* https://lk-tronics.com/
***********************************************
* All rights reserved. No part of this code may be reproduced, distributed,
* or transmitted in any form or by any means, including photocopying, recording,
* or other electronic or mechanical methods, without the prior written permission
* of LK Tronics, except in the case of brief quotations embodied in
* critical reviews and certain other noncommercial uses permitted by copyright law.

************************************************/
#define soilWet 500
#define soilDry 750
#define sensorPin A3

void setup() {
  Serial.begin(9600);
}

void loop() {
  Serial.print("Soil Moisture Sensor value:");
  delay(500);
}

int readSensor() {
  int sensorValue = analogRead(sensorPin);  // Read the analog value from sensor
  Serial.println(sensorValue);
  if (sensorValue < 500){
     Serial.println("soil is too wet");
  }
  if (sensorValue > 750){
     Serial.println("soil is too Dry");
  }
}
*******************************************************************************