
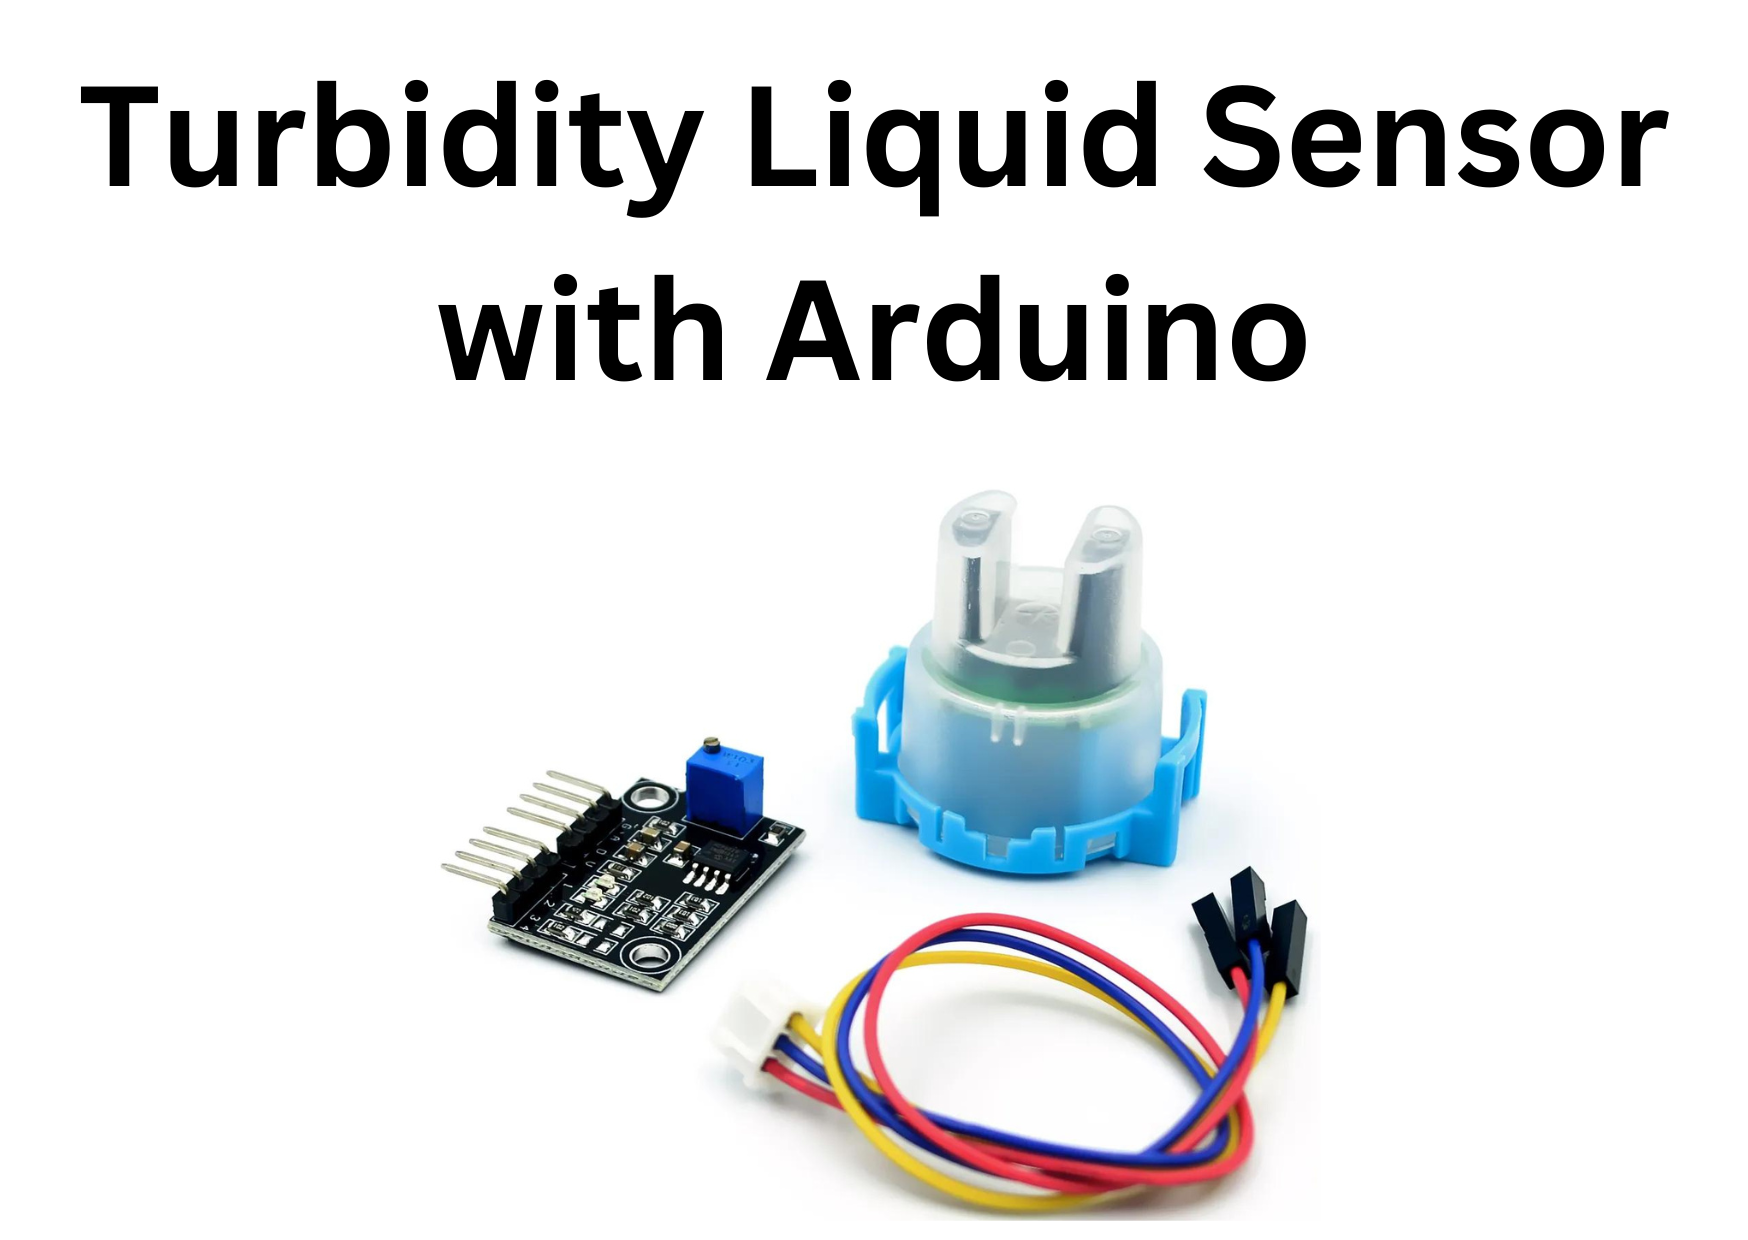
What is Turbidity Liquid Sensor with Arduino Leave a comment
A turbidity sensor with arduino, sometimes referred to as a turbidimeter, is a tool quantify how hazy or cloudy a liquid becomes due to the presence of suspended solids or particles Firstly. Turbidity is a crucial water quality metric that is frequently utilis in a variety of settings, such as industrial operations, water treatment, and environmental monitoring. however Turbidity measurements are particularly useful in assessing the quality of drinking water, wastewater, and natural water bodies.
Here are the key components and working principles of a turbidity liquid sensor:
- Light Source: Turbidity sensors typically use a light source, often an LED, to emit light into the liquid sample.
- Photodetector: A photodetector or photodiode is measuring the amount of light that passes through the liquid and reaches the other side. Therefore, the amount of light detected is inversely proportional to the turbidity of the liquid, i.e., as turbidity increases, less light will pass through.
- Sample Chamber: The liquid sample is a sample chamber that allows the light to pass through it. The chamber designed to prevent external light from interfering with the measurements.
- Measurement Unit: A control and measurement unit processes the output from the photodetector and converts it into turbidity values. These values typically displayed as nephelometric turbidity units (NTU) or other relevant units.
How a Turbidity Sensor Works:
- Light Transmission Method: The most common method for measuring turbidity is the light transmission method. In this method, the turbidity sensor emits light into the liquid sample, and the photodetector on the other side measures the amount of light that reaches it. As the turbidity of the liquid increases, more light is scattered and absorbed, resulting in less light reaching the photodetector.
- Calibration: Turbidity sensors are calibrated using standardized solutions with known turbidity values to establish a reference point for measurements.
- Output and Display: The sensor’s measurement unit processes the data and displays the turbidity value. This value can record, transmitted, or used for process control.
- Cleaning and Maintenance: Turbidity sensors may require periodic maintenance and cleaning to ensure accurate measurements. Contaminants on the sensor’s optical surfaces can affect its performance.
Turbidity sensors are commonly used in environmental monitoring to assess water quality, in water treatment plants to monitor the effectiveness of the treatment process, and in industrial processes to ensure product quality. They are essential tools for ensuring that water is safe to drink, for monitoring effluent from wastewater treatment plants, and for various other applications where the clarity of a liquid is critical.
To use a turbidity sensor with an Arduino, you will typically need a turbidity sensor module that includes the sensor itself and an analog or digital interface. The specific wiring and code will depend on the type of turbidity sensor you have. Below, I’ll provide a general guide for connecting and using a common turbidity sensor with Arduino:
Hardware Connection:
- Connect the turbidity sensor to your Arduino. Typically, the sensor module will have three pins: VCC, GND, and the signal output pin. Follow these general connections:
- Connect VCC to 5V on your Arduino.
- Connect GND to GND on your Arduino.
- Connect the signal output pin to an analog input pin on your Arduino.
- Some turbidity sensors may require additional components like resistors or capacitors in the circuit. Refer to the datasheet or documentation of your specific turbidity sensor for precise details on wiring.

***************************************************************************************************************
* Company Name:LK Tronics
* Author: Research & Development Department
EXPERT GUIDANCE TO BRING YOUR DREAM PROJECT TO LIFE
* Date: 2020/ 04/ 20
* https://lk-tronics.com/
***********************************************
* All rights reserved. No part of this code may be reproduced, distributed,
* or transmitted in any form or by any means, including photocopying, recording,
* or other electronic or mechanical methods, without the prior written permission
* of LK Tronics, except in the case of brief quotations embodied in
* critical reviews and certain other noncommercial uses permitted by copyright law.

************************************************/
const int turbiditySensorPin = A0;
int turbidityValue; // Variable to store the turbidity value

void setup() {
  Serial.begin(9600); // Initialize serial communication for debugging
}

void loop() {
  // Read the turbidity sensor value
  turbidityValue = analogRead(turbiditySensorPin);


 // Print the turbidity value to the serial monitor
  Serial.print("Turbidity: ");
  Serial.println(turbidityValue);

  // Add a delay if needed
  delay(1000); // Delay for 1 second
}
***************************************************************************************************************
VISIT OUR FACEBOOK PAGE FOR MORE INFO | MORE PRODUCT IN OUR SHOP