
What is DHT11 Temperature & Humidity Sensor with Arduino Leave a comment
The Temperature & Humidity Sensor is a low-cost digital sensor used to measure temperature and humidity. It is a basic sensor commonly used in DIY electronics projects and is suitable for applications where relatively low accuracy and precision are acceptable. Here are some key features and specifications of the DHT11 sensor:
Features:
- Temperature and Humidity Sensing: The DHT11 can measure both temperature and humidity.
- Digital Output: It provides digital data output, making it easy to interface with microcontrollers like Arduino.
- Low Cost: DHT11 sensors are inexpensive and widely available, making them popular for hobbyist and educational projects.
- Simple to Use: They are relatively easy to use and require minimal external components.
Specifications:
- Temperature Range: The DHT11 can measure temperatures in the range of 0°C to 50°C (32°F to 122°F).
- Humidity Range: It can measure relative humidity in the range of 20% to 90%.
- Accuracy: The accuracy of the DHT11 is limited, with a temperature accuracy of ±2°C and humidity accuracy of ±5%.
- Communication: It communicates with the microcontroller using a single-wire digital protocol.
- Supply Voltage: The DHT11 operates on a supply voltage of 3.3V to 5V.
- Response Time: It has a response time of around 2 seconds for temperature readings and about 2-5 seconds for humidity readings.
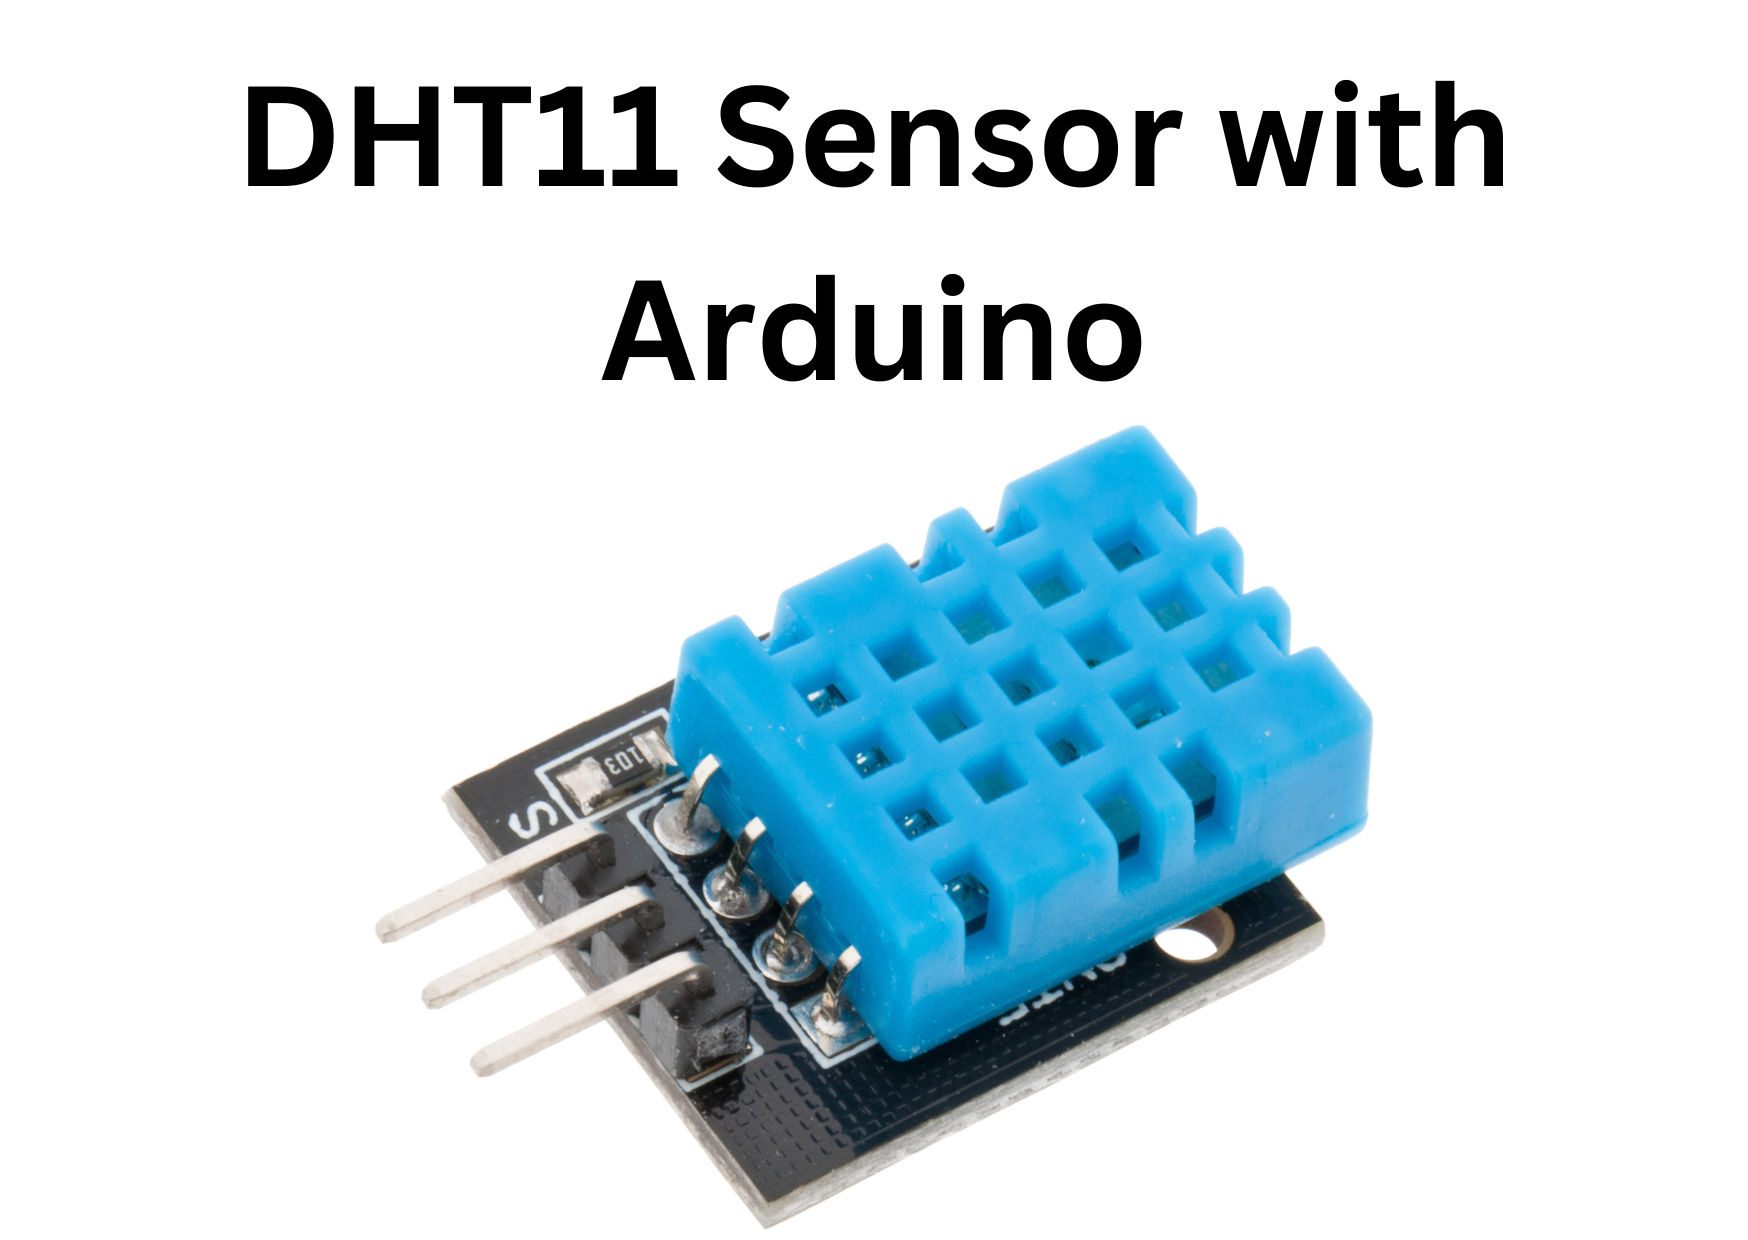
Wiring the DHT11 Sensor: To use the DHT11 sensor with an Arduino or any other microcontroller, you typically need to connect three wires:
- VCC (Power): Connect this to the 3.3V or 5V output of your microcontroller or power supply.
- GND (Ground): Connect this to the ground (GND) pin of your microcontroller.
- Data (DOUT): Connect this to one of the digital input/output pins of your microcontroller. This is where the sensor sends its digital data.
Using the DHT11 Sensor: To read data from the DHT11 sensor, you need to follow a specific communication protocol. Typically, libraries are available for various microcontroller platforms (like Arduino) that simplify the process of reading data from the sensor. In Arduino, for example, you can use the DHT library as shown in the previous response.
Keep in mind that while the DHT11 is simple and affordable, it has limited accuracy compared to more advanced sensors like the DHT22 or DHT21 (AM2301), which offer better precision and a wider range of measurement. Depending on your project requirements, you may choose a different sensor with higher accuracy and capabilities.
VISIT OUR FACEBOOK PAGE FOR MORE INFO | MORE PRODUCT IN OUR SHOP

***********************************************************************************************************
/***********************************************
* Company Name:LK Tronics
* Author: Research & Development Department
EXPERT GUIDANCE TO BRING YOUR DREAM PROJECT TO LIFE
* Date: 2020/ 03/ 03
* https://lk-tronics.com/
***********************************************
* All rights reserved. No part of this code may be reproduced, distributed,
* or transmitted in any form or by any means, including photocopying, recording,
* or other electronic or mechanical methods, without the prior written permission
* of LK Tronics, except in the case of brief quotations embodied in
* critical reviews and certain other noncommercial uses permitted by copyright law.

************************************************/
#include <dht11.h>
#define DHT11PIN 2

dht11 DHT11;

void  setup()
{
  Serial.begin(9600);

}

void loop()
{
  Serial.println();

  int val = DHT11.read(DHT11PIN);

  Serial.print("Humidity (%): ");
  Serial.println((float)DHT11.humidity, 2);

  Serial.print("Temperature  (C): ");
  Serial.println((float)DHT11.temperature, 2);

  delay(1000);

}
***********************************************************************************************************