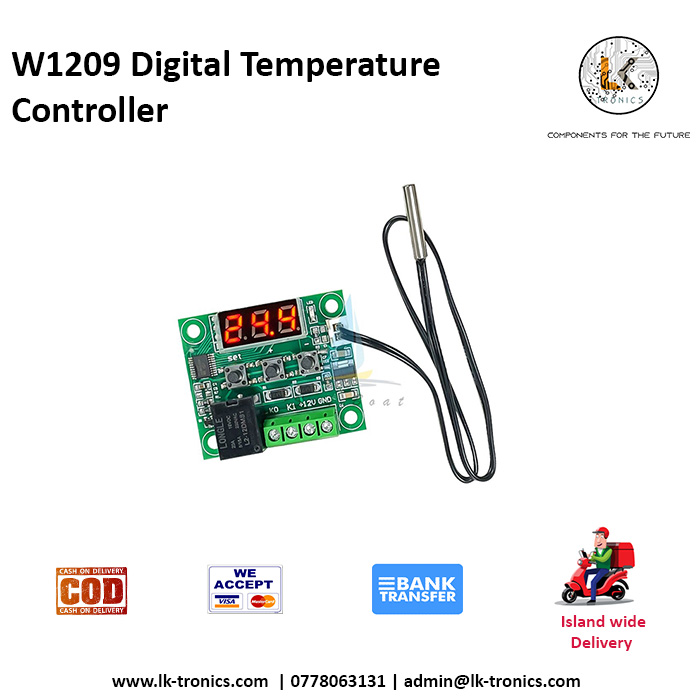
W1209 Digital Temperature Controller
Specifications
- Operating Voltage: 12V DC
- Output power: 20A relay
- Temperature Measurement Range: -50°C to +110°C
- Control Accuracy: 0.1°C
- Measurement Accuracy: 0.1°C
- Control Output:Relay output: 10A (max) 250V AC or 10A (max) 30V DC
- Display: 3-digit 7-segment LED display
- Sensor: NTC thermistor (10kΩ, included)
- Operating Temperature: -10°C to +60°C
- Storage Temperature: -10°C to +70°C
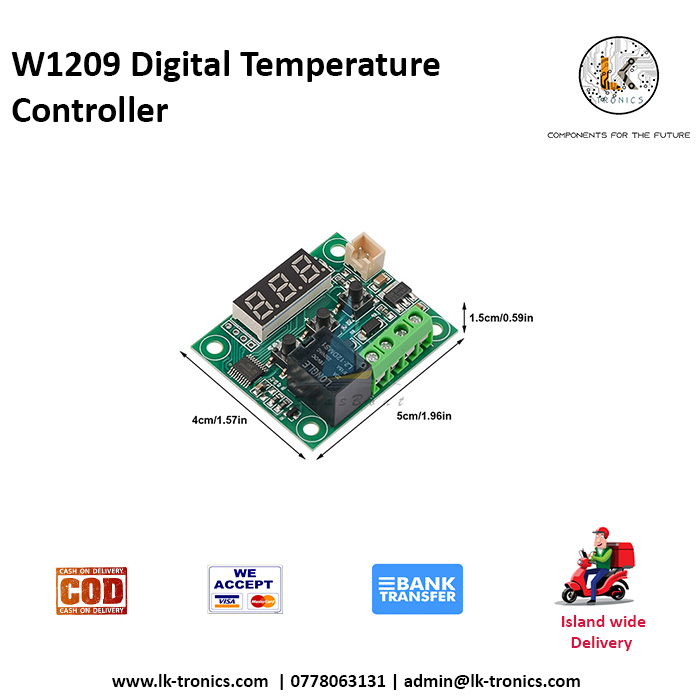
- Dimensions: 48mm x 40mm x 14mm
Pin Configuration
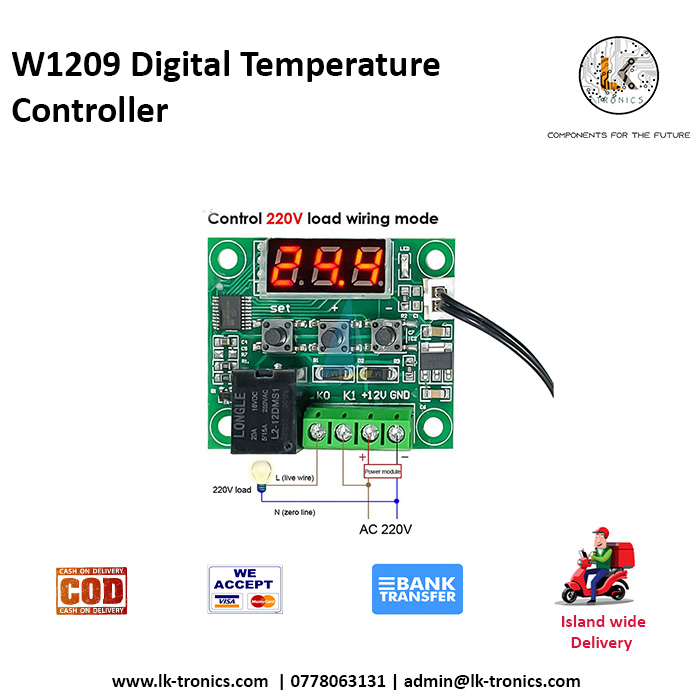
- DC+: 12V power supply positive input
- DC-: 12V power supply negative input
- IN: Sensor input
- NO: Normally Open relay contact
- COM: Common relay contact
- NC: Normally Closed relay contact
Features
- Temperature Control: It can be set to control heating or cooling based on the temperature setpoints.
- LED Display: It shows the current temperature and allows for easy adjustment of setpoints and parameters.
- Adjustable Parameters:
- Set the desired temperature setpoint.
- Set the hysteresis (differential) to avoid frequent switching.
- Calibration of temperature readings.
- Delay start for the relay to protect the controlled device.
- Relay Output: Capable of switching high current loads, suitable for various heating and cooling devices.
- Simple Operation: Easy to set up and use with three buttons: Set, Increase, and Decrease.
- Compact Size: The small form factor makes it easy to integrate into various projects and enclosures.
Usage
The W1209 temperature controller can be used in a wide range of applications, including:
- Homebrew beer fermentation temperature control
- Aquarium temperature regulation
- Greenhouse climate control
- DIY incubators
- Temperature-sensitive equipment monitoring
Setting Up the W1209
- Power Connection: Connect the 12V DC power supply to the DC+ and DC- pins.
- Sensor Connection: Connect the included NTC thermistor sensor to the IN pin.
- Relay Connection: Connect the load (e.g., a heater or cooler) to the relay contacts (NO, COM, NC) according to whether you need the normally open or normally closed configuration.
- Adjusting Settings:
- Set Temperature: Press the “SET” button and use the “+” and “-” buttons to adjust the desired setpoint.
- Hysteresis Setting: Long press the “SET” button to enter the parameter setting mode, use “+” and “-” to navigate to the hysteresis parameter (HC), press “SET” again, and adjust with “+” and “-“.
- Temperature Calibration: Navigate to the calibration parameter (CA) in the parameter setting mode and adjust as needed.
How to use:
Connect the power source and the load before supplying power to the controller, which displays the temperature as a measured value.
Press the SET button, the display flashes the temperature,
Press – to set the desired temperature,
After pressing SET to confirm the return,
The controller automatically performs the relay by setting off!
Lights, LED status descriptions:
Indicator: Off The relay is switched off, always indicate the relay is closed.
LED: Shows LL is the sensor open, showing? HH is out of range, the thermostat will be forced to close the relay, and the display — as high-temperature protection.
Package Included:
1 x W1209 digital temperature controller thermostat temperature control thermostat switch plate
VISIT OUR FACEBOOK PAGE FOR MORE INFO | MORE PRODUCT IN OUR SHOP
Based on 0 reviews
Be the first to review “W1209 Digital Temperature Controller”
You must be logged in to post a review.


There are no reviews yet.